|
Within this tutorial we are going to go over setting up a PfSense Firewall version 2.4, which can be downloaded here, and setting it up with Jumpcloud's Cloud LDAP authentication. Now these same steps can be used to setup with Window's servers as well with just a bit of tweaking. The first thing we must do is setup our Jumpcloud account, which is free for the first ten users! After you have activated your account and logged into the administrator's portal, we can create our first user. 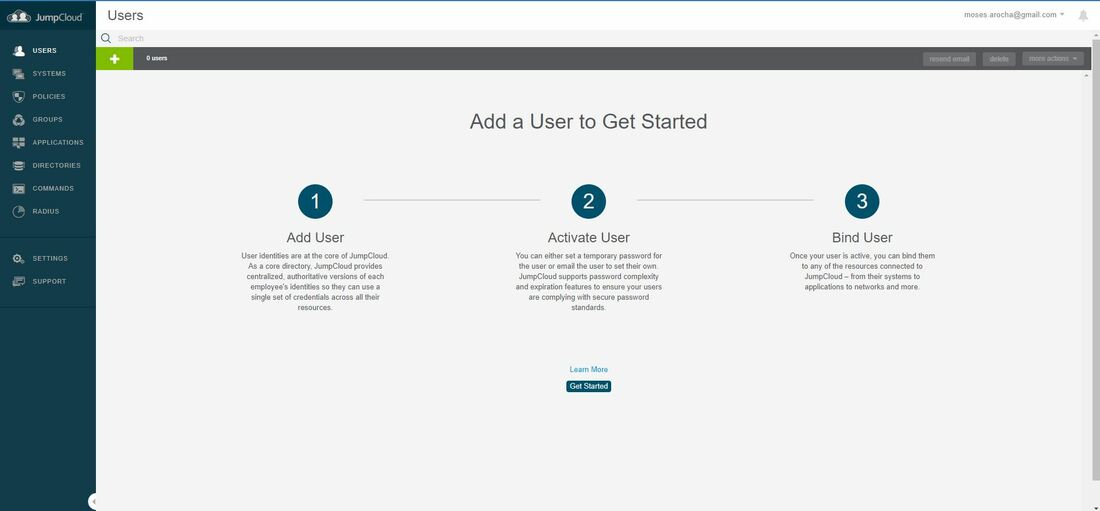 Here, we can click on the plus sign under the Users tab to create our first user. 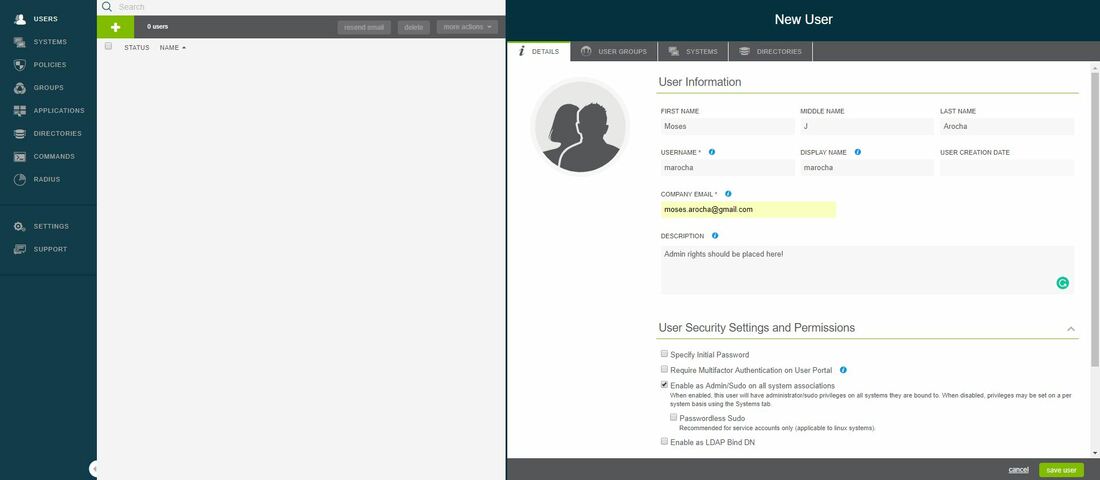 We can add all of the information for our new user, note that you can use the same email address that you created your administrative user with. 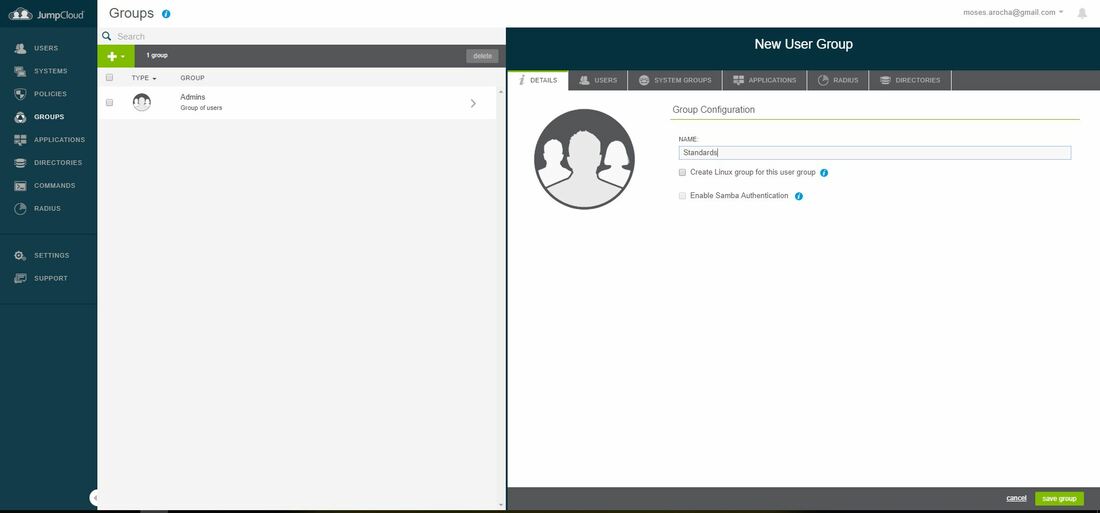 After saving our user, we can double click on the the name again to edit the details. Here, we have to check-mark the box "Enable as Admin/Sudo on all system associations" and "Enable as LDAP Bind DN". This will escalate the user's privileges and allow him/her to use Jumpcloud's LDAP login service. 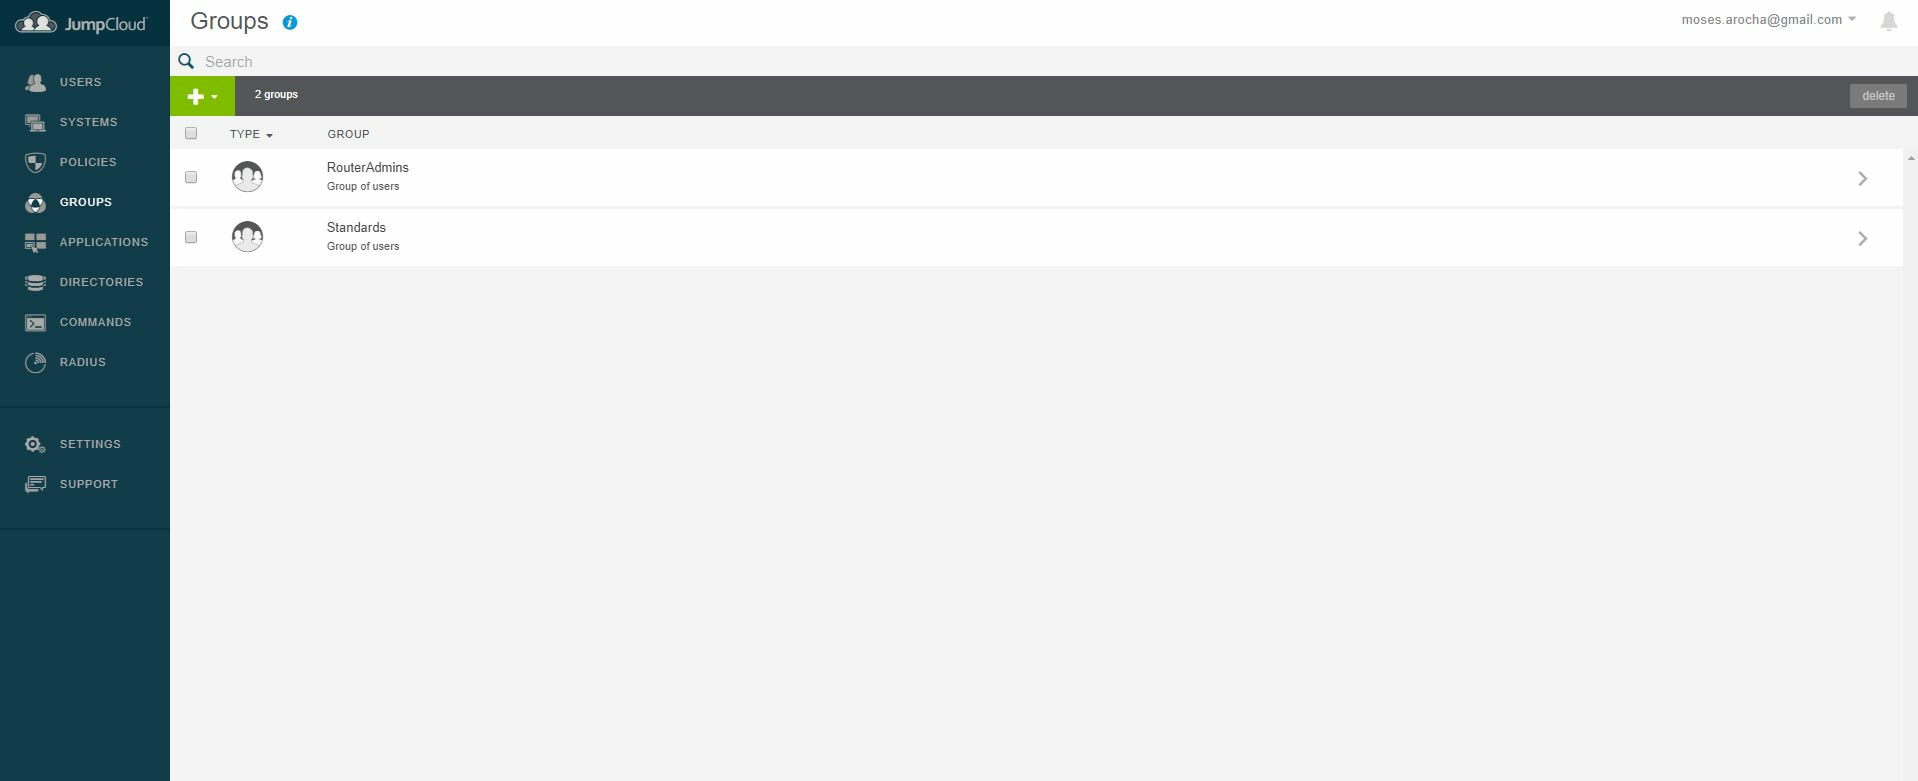 Next, we can create the groups we want by clicking on the Groups tab on the far left and clicking the plus sign and from here we can add which users we want to which group. We can also assign specific permissions to the groups, however that is not needed in this tutorial. 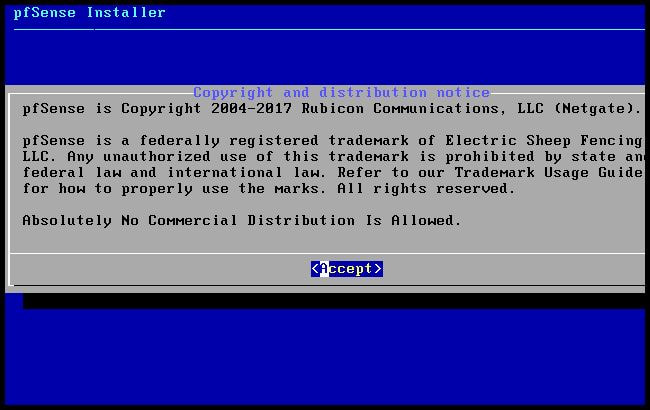 Next, we we will move onto installing pfSense itself, after booting up the image for the first time we will be greeted with this message. Please press enter to accept. 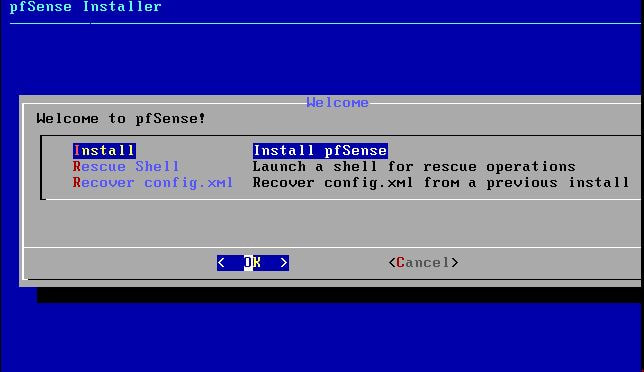 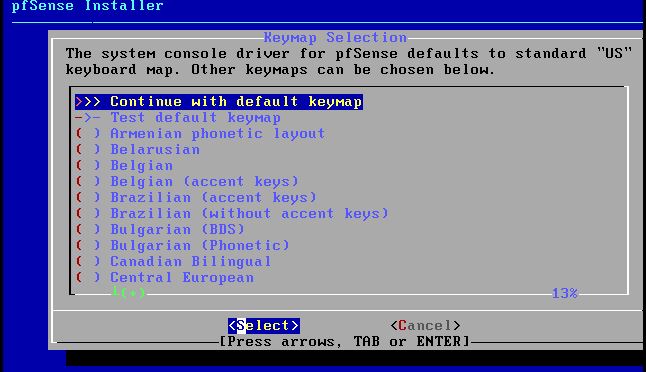 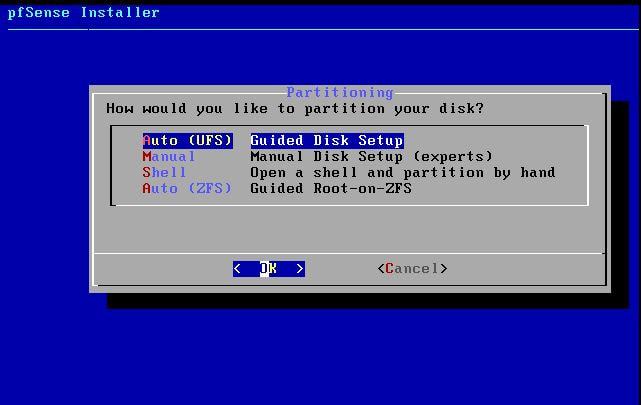 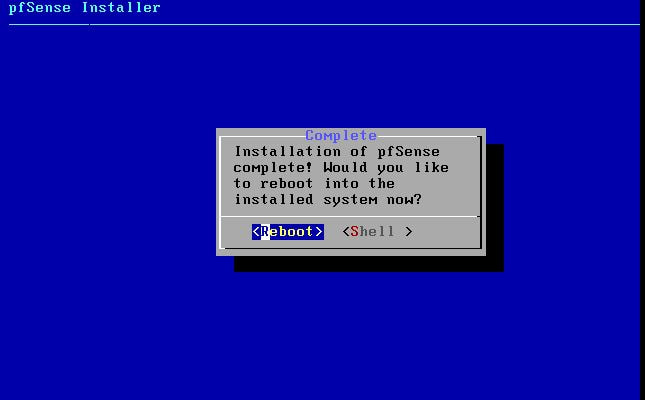 After going through the basic installer, we will now be greeted with the black screen below. Next we have to setup the interfaces and the IP addresses for the interfaces. First we will want to enter in option 1. Now, normally we do not want to setup VLANs at this time, so you can press 'n' for that question. Next, select which interface you want for WAN and then for LAN. The next question will ask "Do you want to revert to HTTP as the webConfigurator protocol?" and it is advised to say 'no' unless for some reason the current network or browser will block HTTPS. After we have selected the interfaces, we now must set the IP addresses. Remember that WAN stands for Wide Area Network, so this means that anything facing externally of the network and the pfsense firewall web configuration can only be accessed internally. Now, my setup is different, as I am running everything within a virtual machine. Meaning that my home router is going to be assigning my IP address via WAN, however, my LAN will be vmnet8, with the pfsense firewall will act as the DHCP server. Therefore, this means that my setup is currently router to firewall to host, however you can have the pfSense placed outside of the router (or completely replace it) by copying the MAC address from the router and using DHCP for both IPv4 and IPv6 WAN. Also note that for most home networks, your IPv4 and IPv6 address can change at anytime, this is different for businesses however. Now, we will select option 2 and go through the process of which interfaces should be assigned statically or dynamically and if you want to setup a DHCP service on the LAN side. 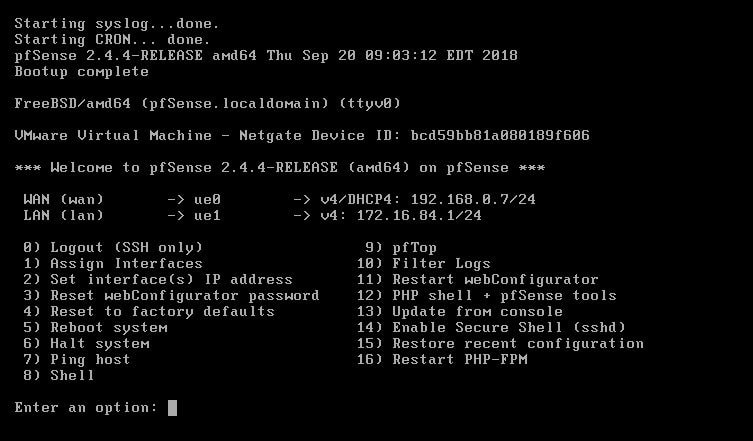 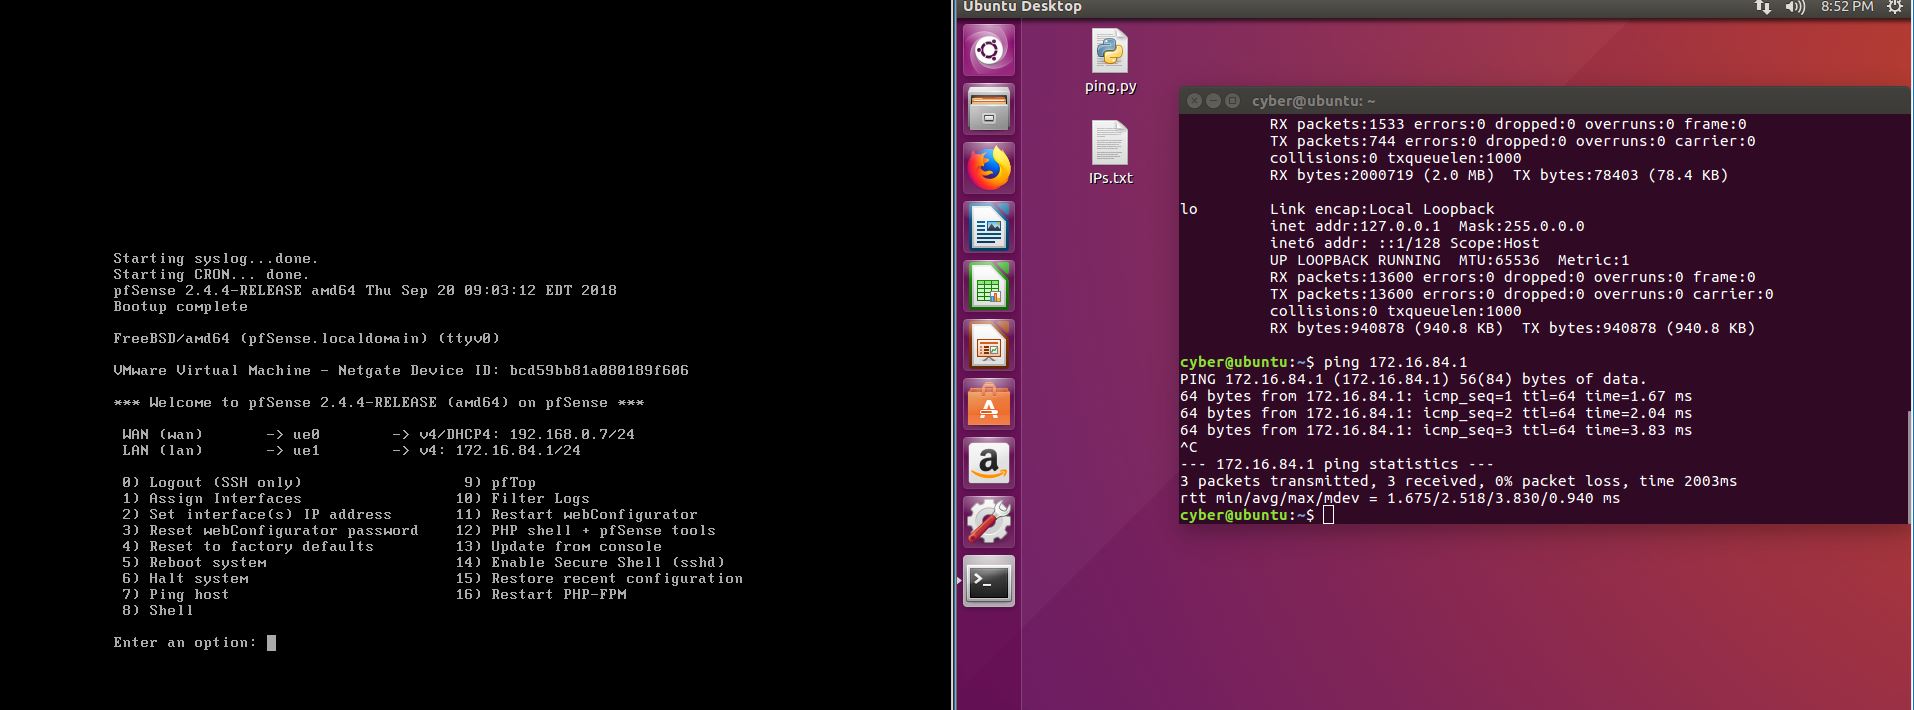 After that, it is advised that you ping the firewall from a host that has received an IP address from the firewall. This will allow you to know if you have connectivity. 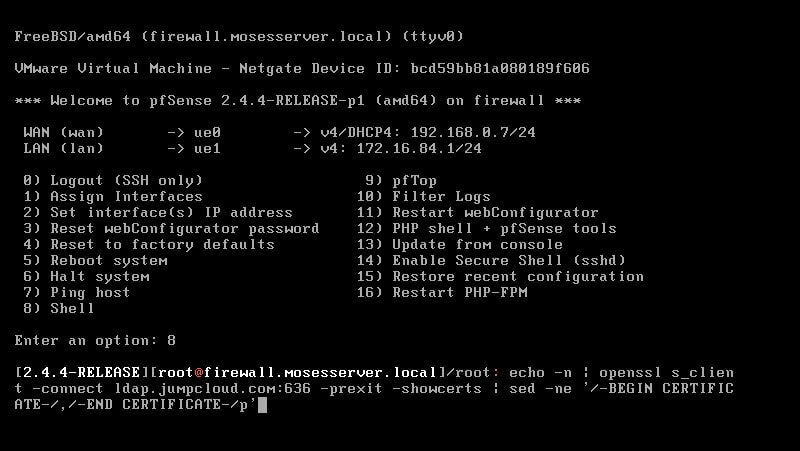 After this, we will need to make sure that we create a certificate for pfSense's use of Jumpcloud. We can create the certificate with the command: echo -n | openssl s_client -connect ldap.jumpcloud.com:636 -prexit -showcerts | sed -ne '/-BEGIN CERTIFICATE-/,/-END CERTIFICATE-/p' If you want to save the certificate to the tmp folder we can edit the command a bit to follow this: echo -n | openssl s_client -connect ldap.jumpcloud.com:636 | sed -ne '/-BEGIN CERTIFICATE-/,/-END CERTIFICATE-/p' > /tmp/jumpcloud.chain.pem Next, we can access the web portal from the LAN side, type in the IP address we set, mine is 172.16.84.1, and login with the username: admin and the password: pfsense. 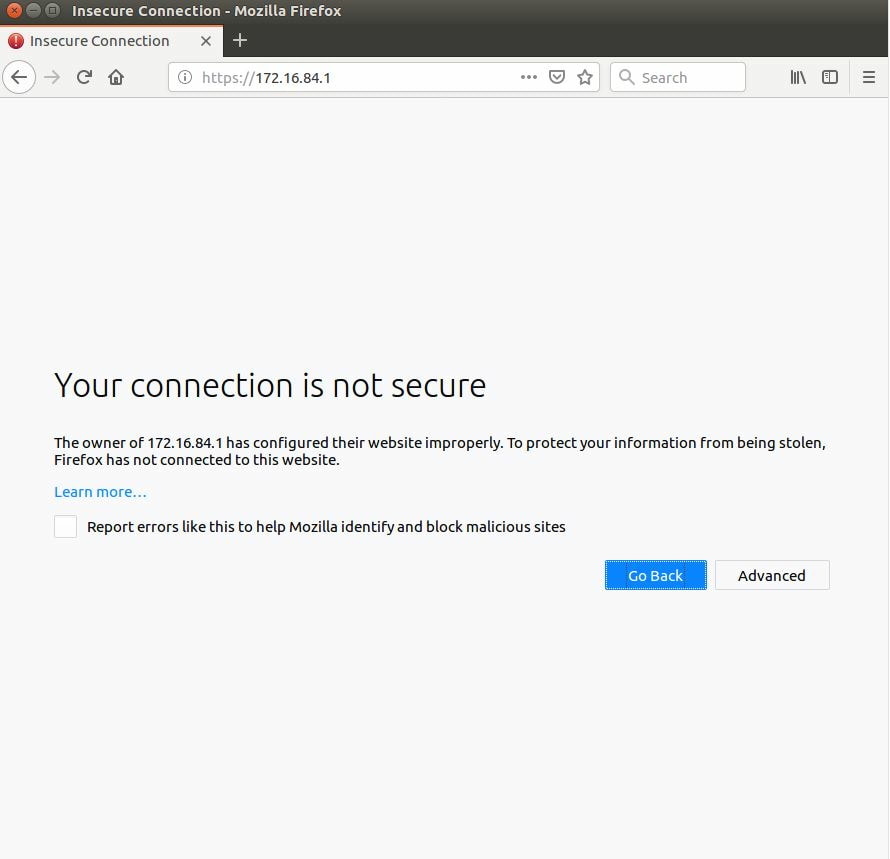 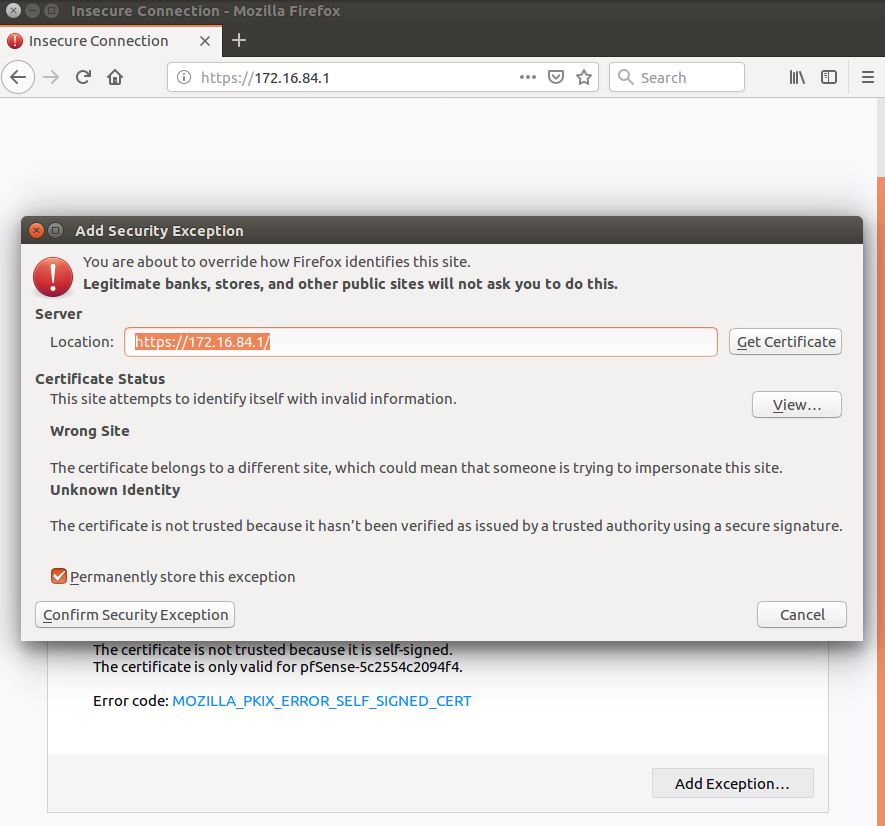 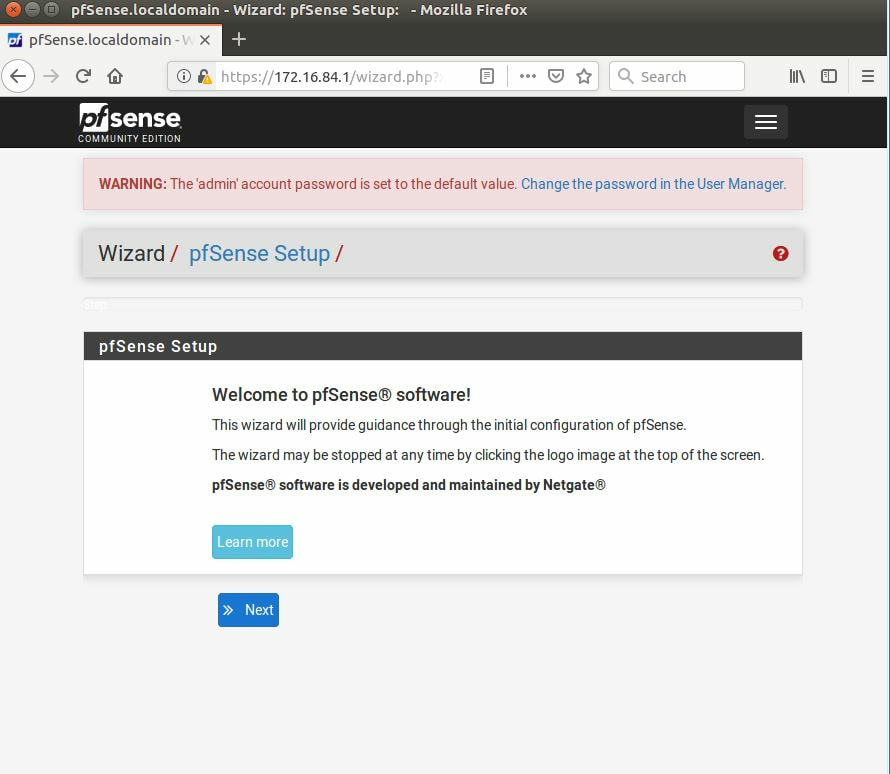 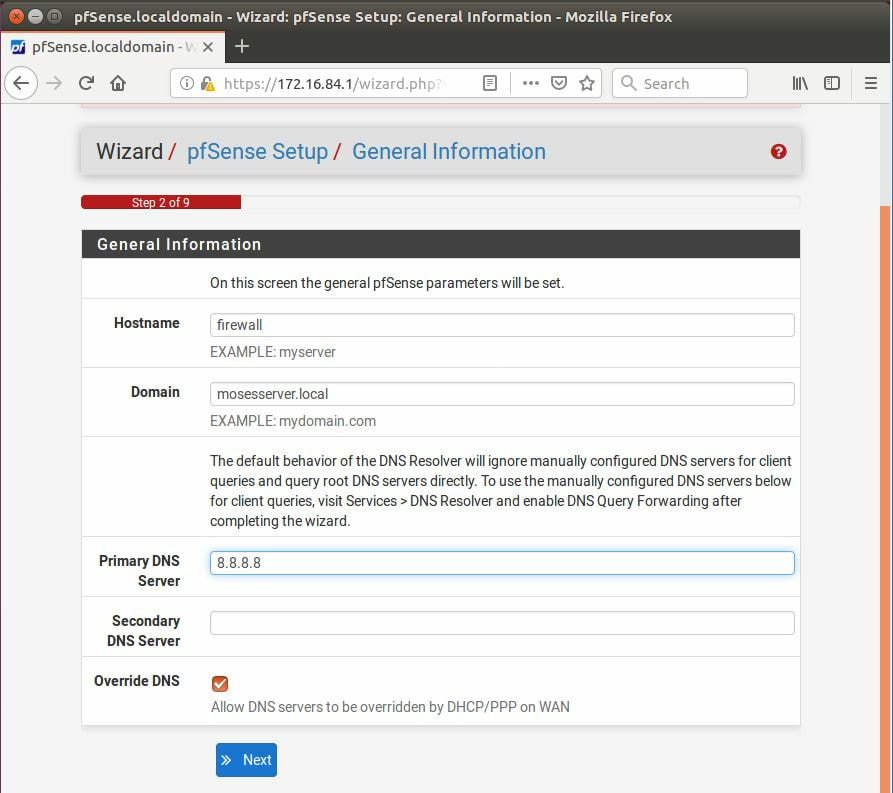 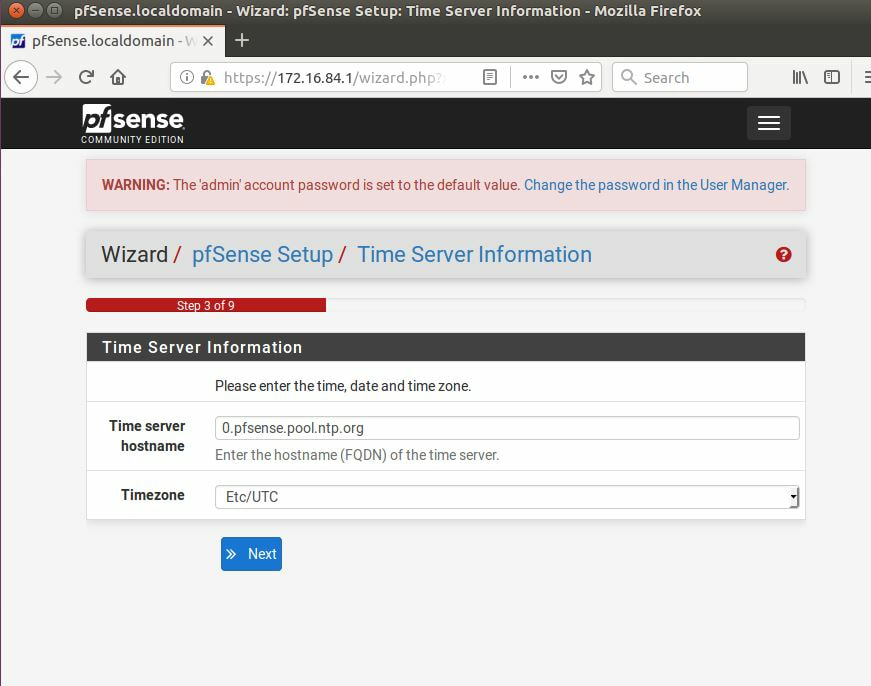 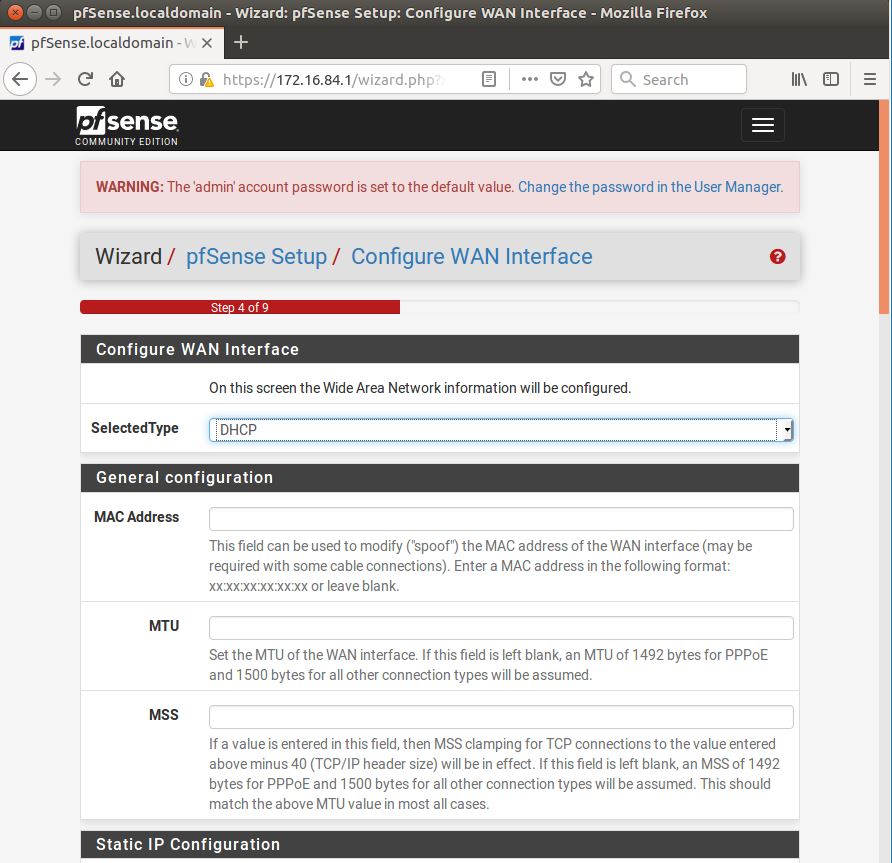  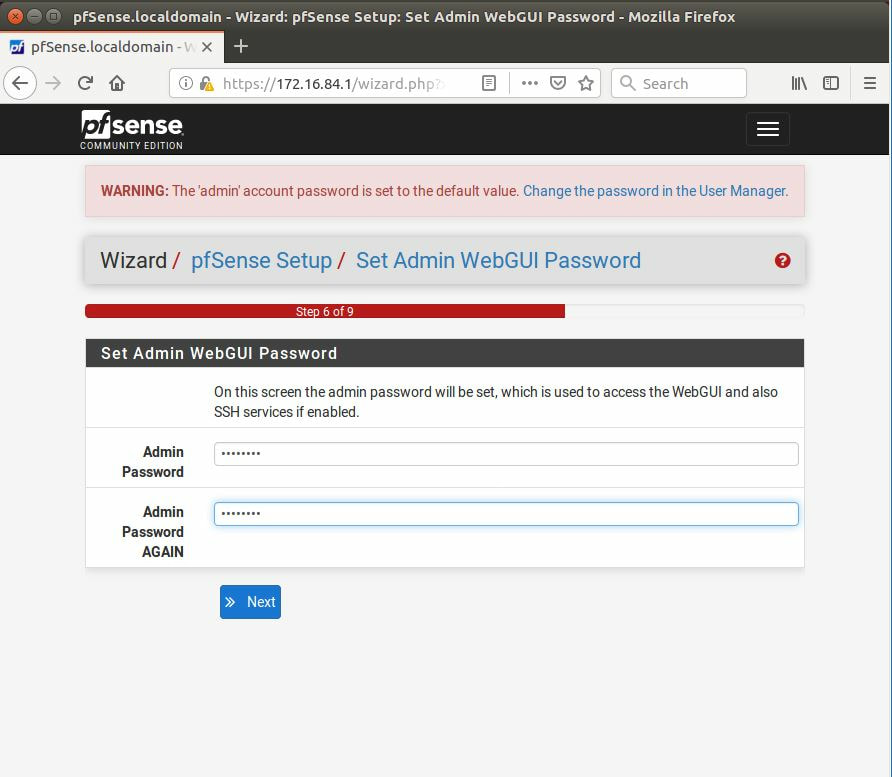 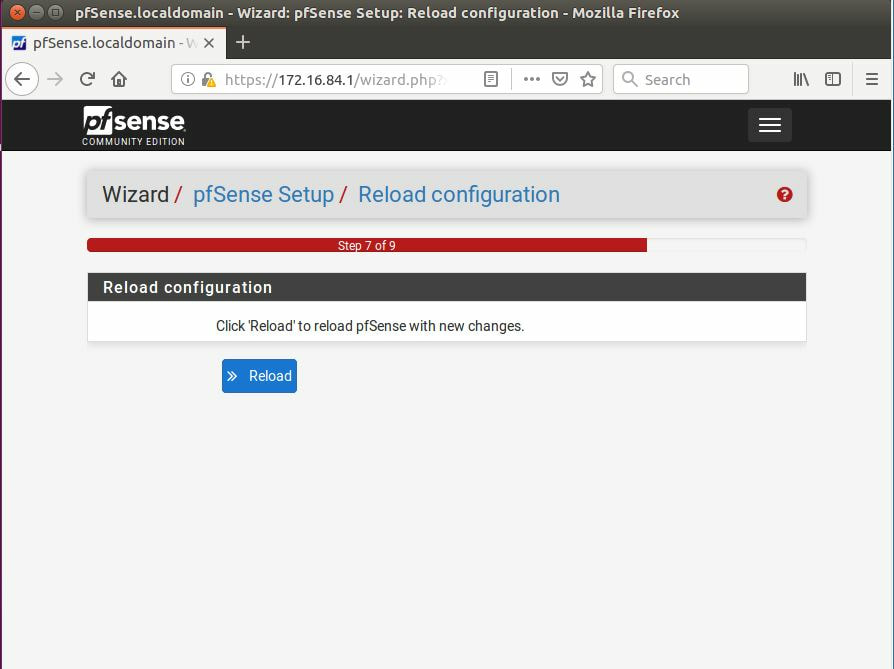 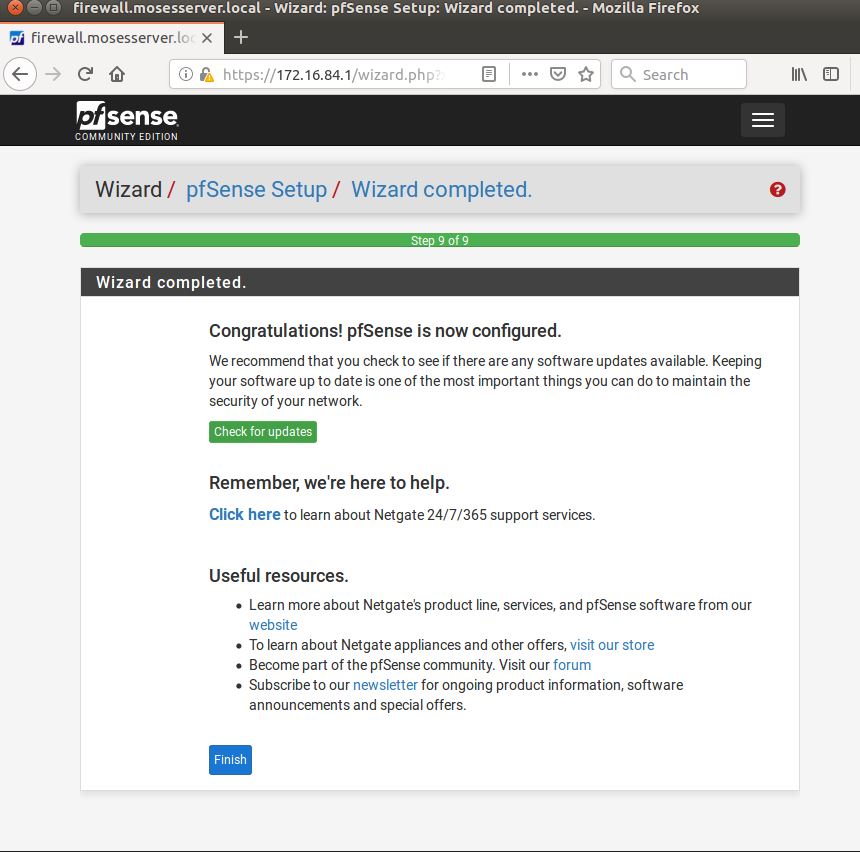 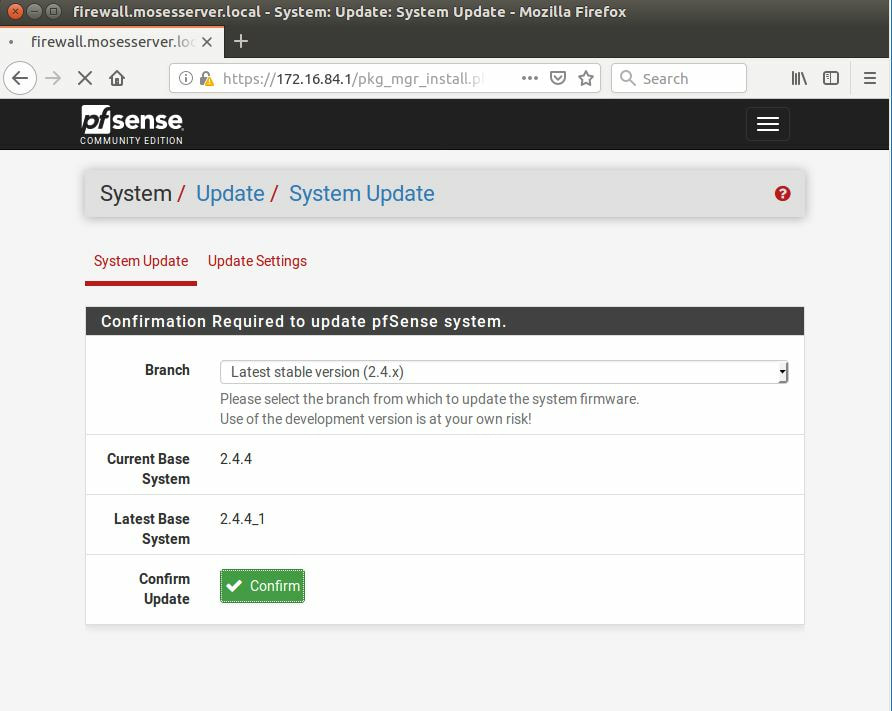 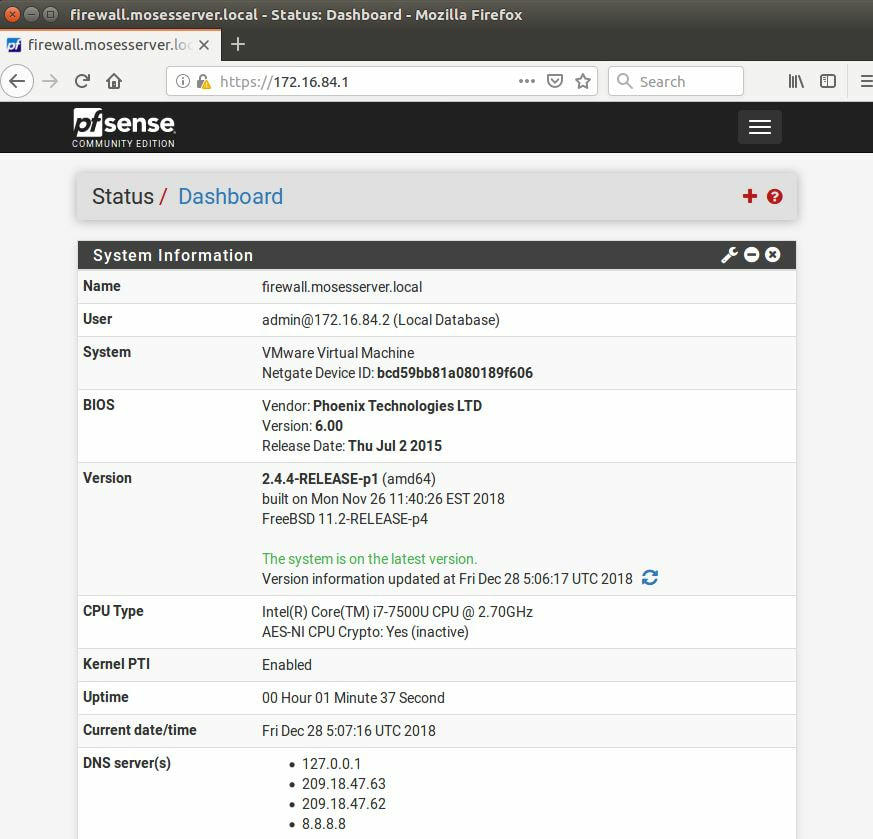 After going through the initial setup, updating the firewall, and logging in with our new password, we can navigate to the Systems tab, Click on User Manager, then Groups, and create a new group by clicking on the green Add button. Here, we will name the group, please keep the name here as the same you created in Jumpcloud, as the two must sync. Next set up the Scope to Remote and click save. In order to assign permissions we have edit the group after it has been saved, and you can select which permissions you want then click save towards the bottom. After it will provide you with a confirmation page, please save again to update the changes. 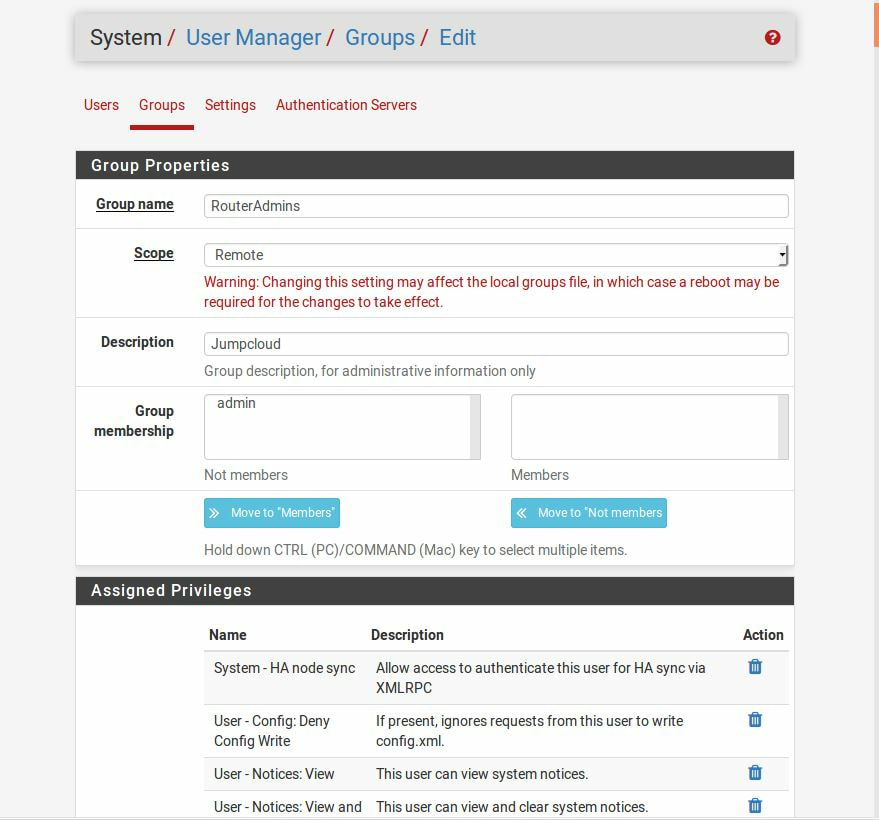 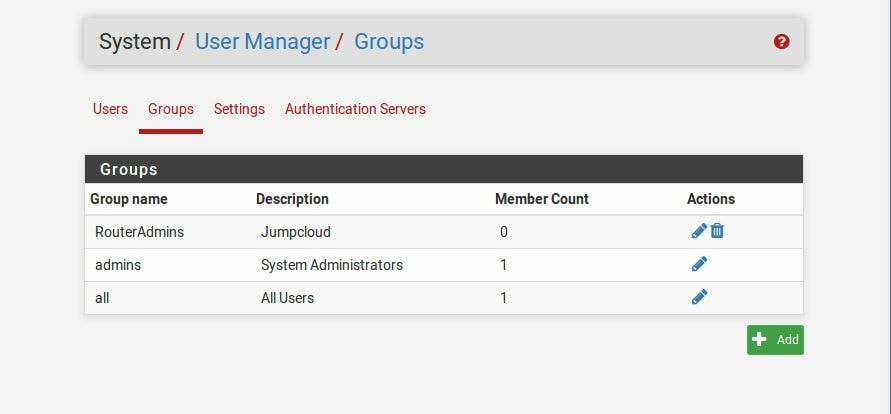 Next, navigate to Authentication Servers and press the green Add button. 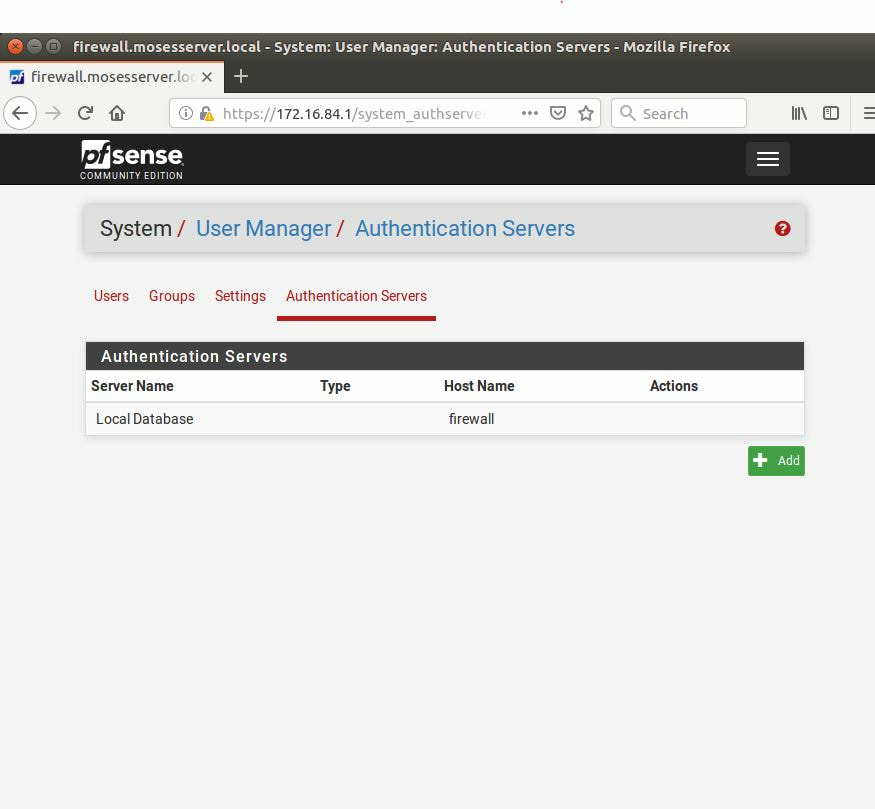 This is the below input, please edit for your own setup: Descriptive name: JumpCloud Type: LDAP Hostname or IP Address: ldap.jumpcloud.com Port Value: 636 (SSL) Transport: SSL - Encrypted Peer Certificate Authority: No Certificate Authorities defined. Protocol Version: 3 Search Scope - Level: Entire Subtree Search Scope - Base DN: ou=Users,o=ORG_ID,dc=jumpcloud,dc=com Authentication Containers: ou=Users,o=ORG_ID,dc=jumpcloud,dc=com Extended Query: &(objectClass=inetOrgPerson)(memberOf=CN=<group_name>,ou=Users,o=ORG_ID,dc=jumpcloud,dc=com) Bind Credentials - User DN: uid=<username>,ou=Users,o=ORG_ID,dc=jumpcloud,dc=com Bind Credentials - Password:<password> User Naming Attribute: uid Group Naming Attribute: cn Group Member Attribute: memberOf Group Object Class: groupOfNames 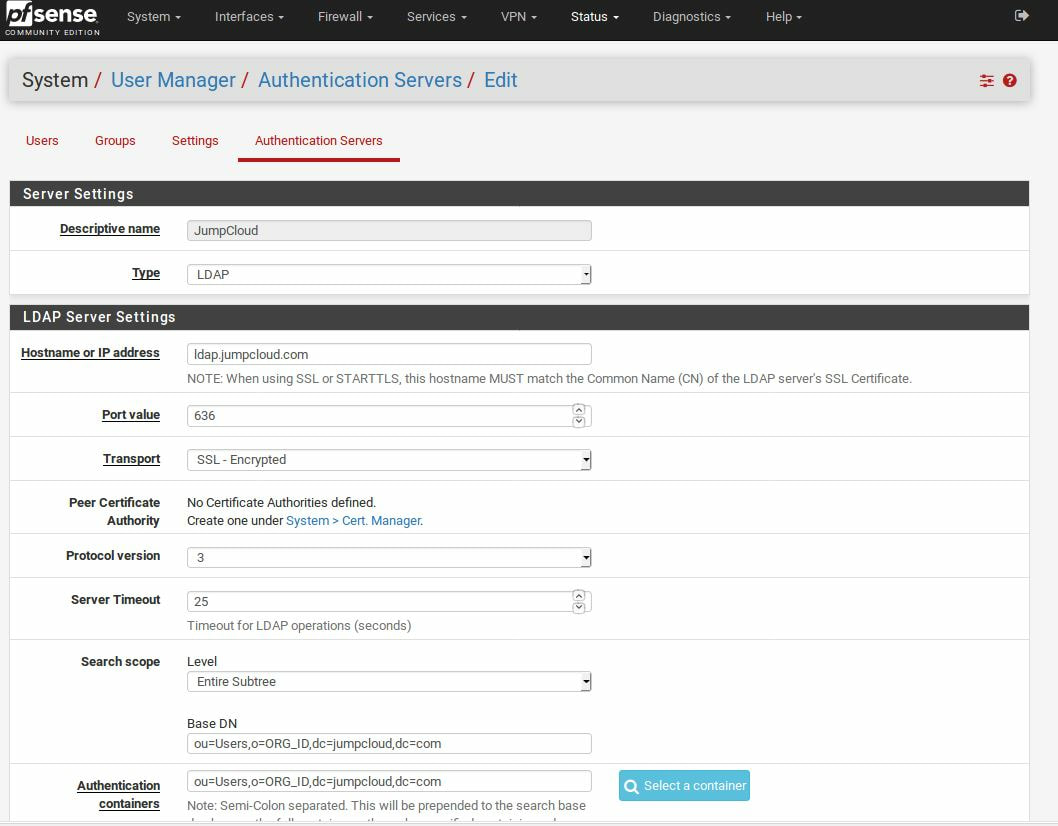 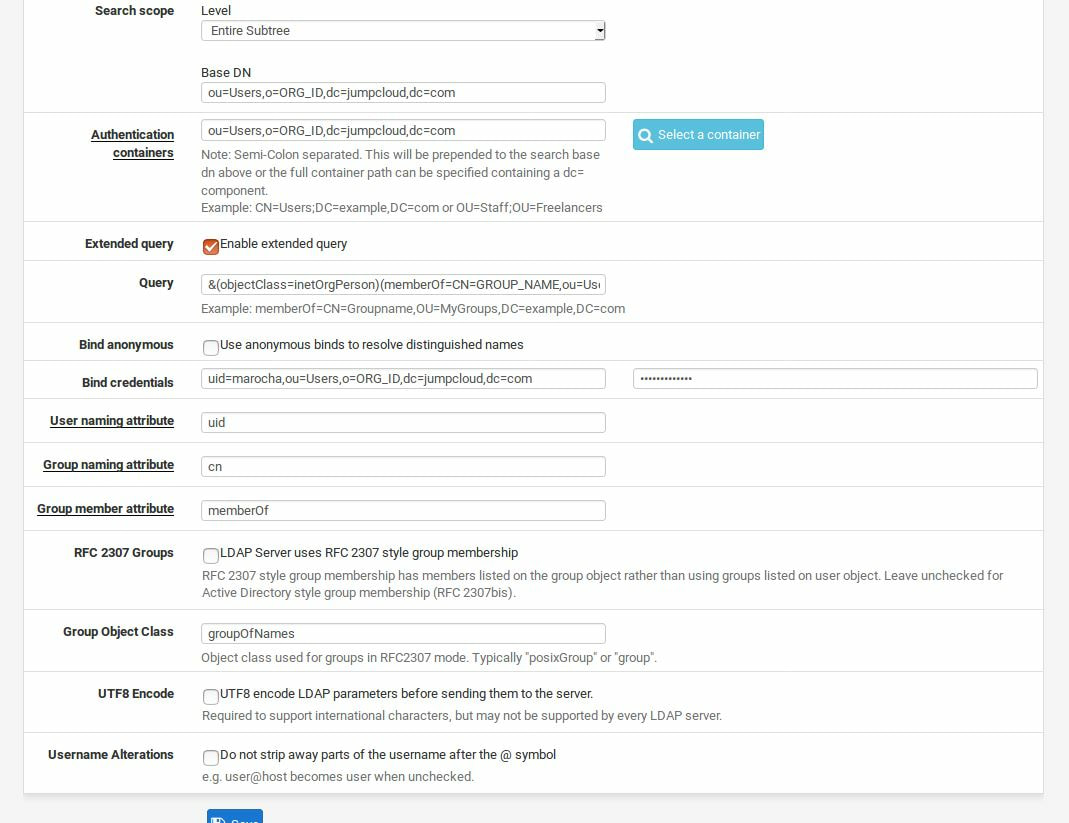 After all of that is done, click save and navigate to the Settings tab. 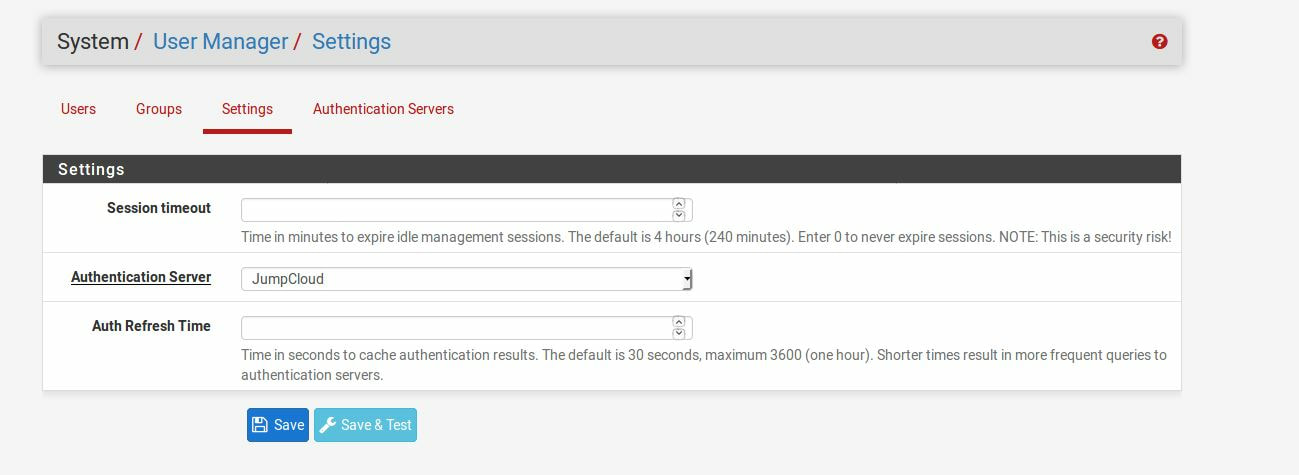 Next select JumpCloud under Authentication Server and click on "Save & Test", if all 3 report back as OK and the groups have been found, click the blue Save button. 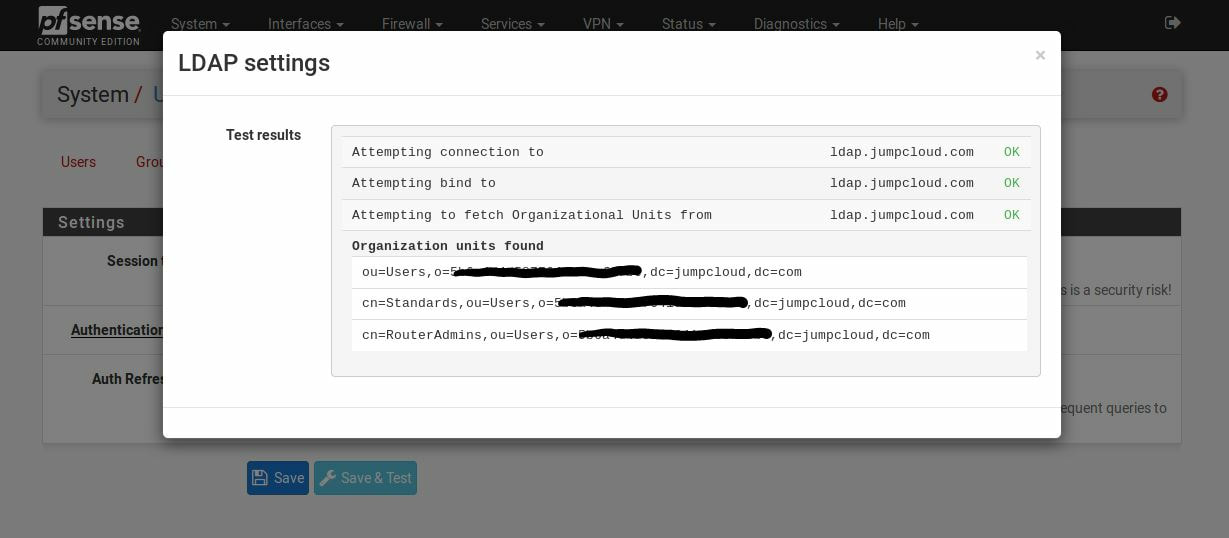 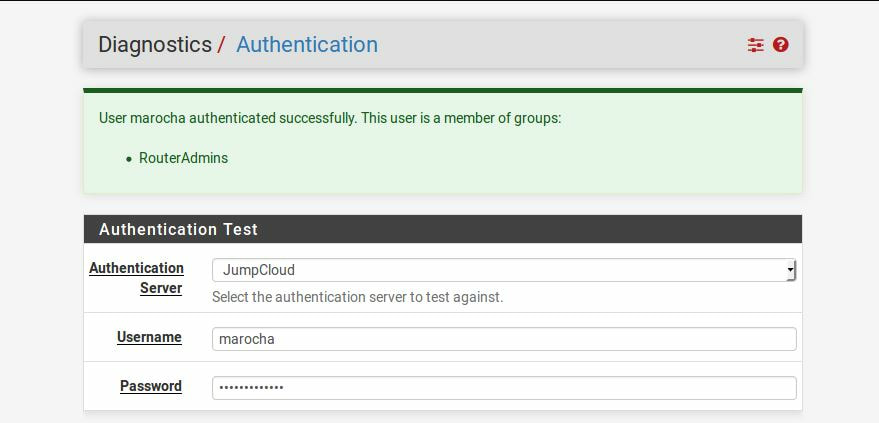 We can verify that the user's groups and membership from Jumpcloud are syncing to pfSense by using the Diagnostics Authentication tool found under the Diagnostics/Authentication tab. From here, select the Authentication Server Jumpcloud and type in the user's details. 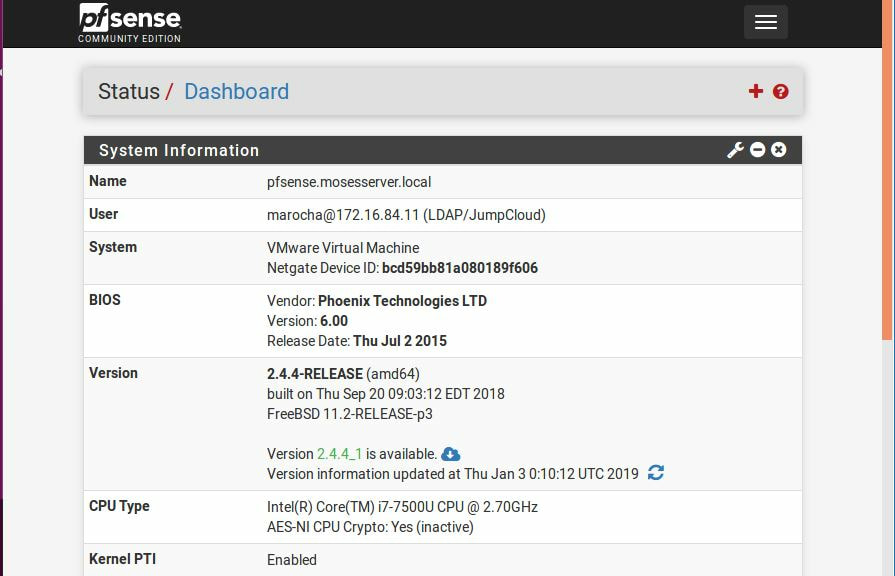 If you are able to login with the user then we know that Jumpcloud's LDAP authentication is working, play around with things to make sure that the permissions are synced up. However for the most part this project is complete!
5 Comments
The first thing we are going to do is open up the Server Manager, it is located at the Taskbar. From here we can click on "Add roles and features". 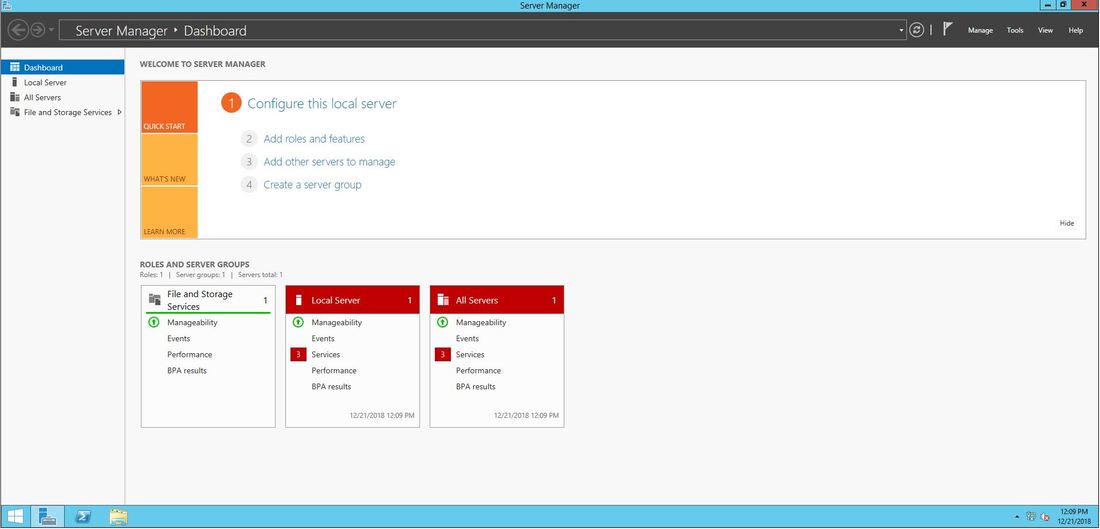 Next, the Installation Wizard will appear on the screen. We want to select "Role-based or feature-based installation" 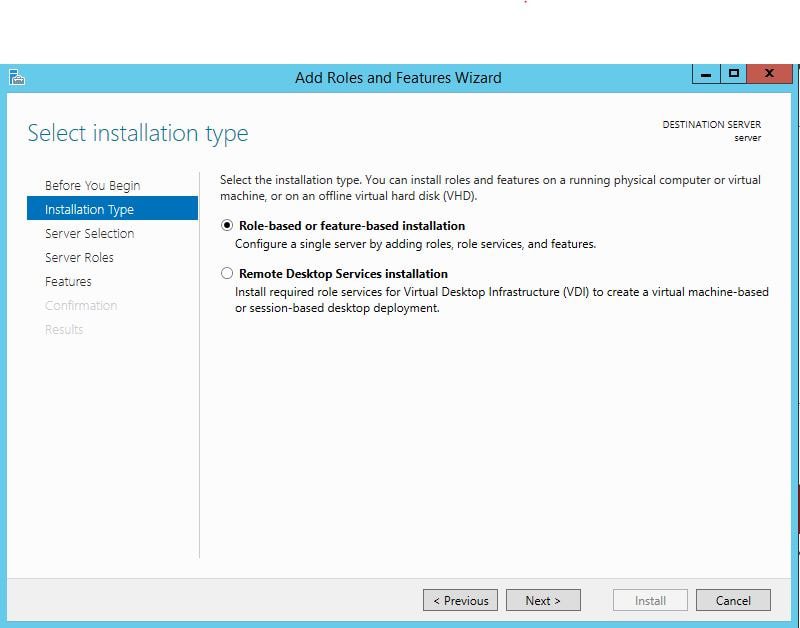 After selecting next, we will select a server to install the roles on, since this is the only server, this is the only one we can select. 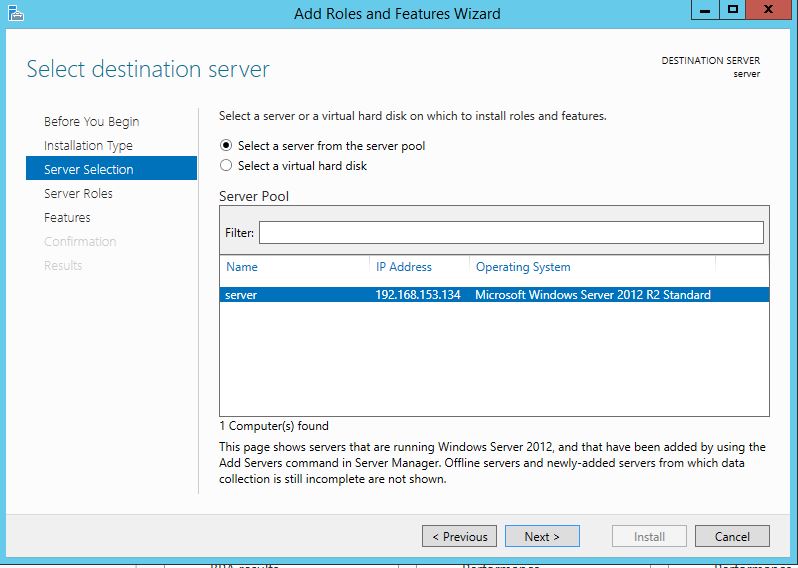 After pressing next, we arrive at the Server Roles, here please select "Active Directory Domain Services." It will then display a popup window with a list of services that also must be installed as well, then click "Add Features". 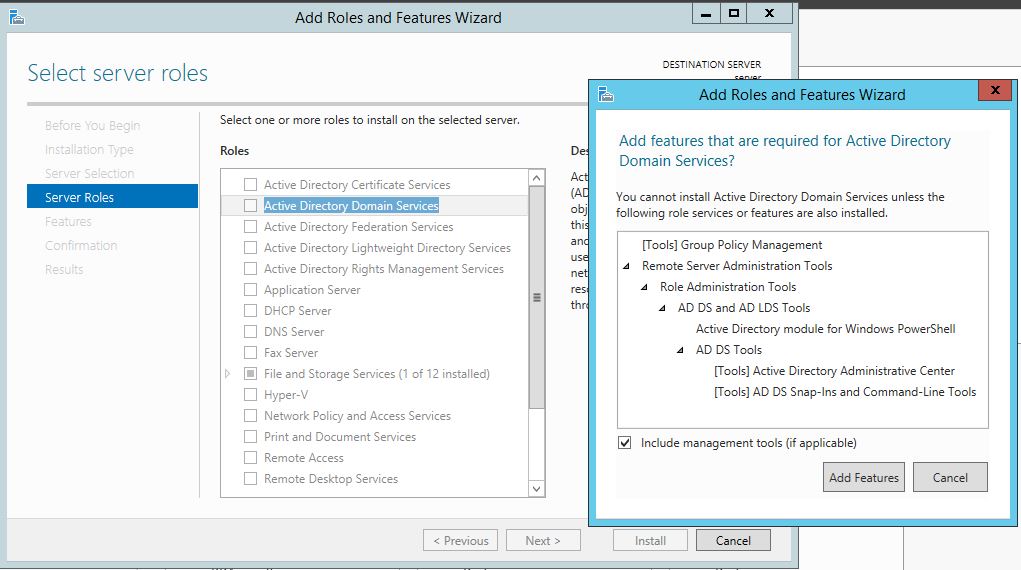 After pressing next we can then select the features we want, it is advised that you add the SNMP Service or any other service needed. 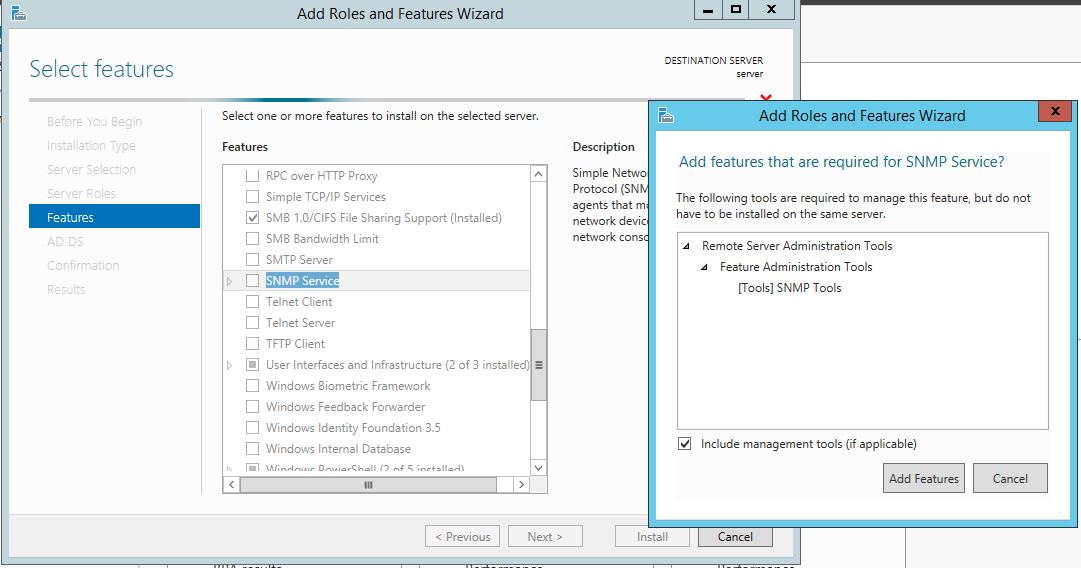 From here, it is going to ask for a confirmation of what is to be installed. 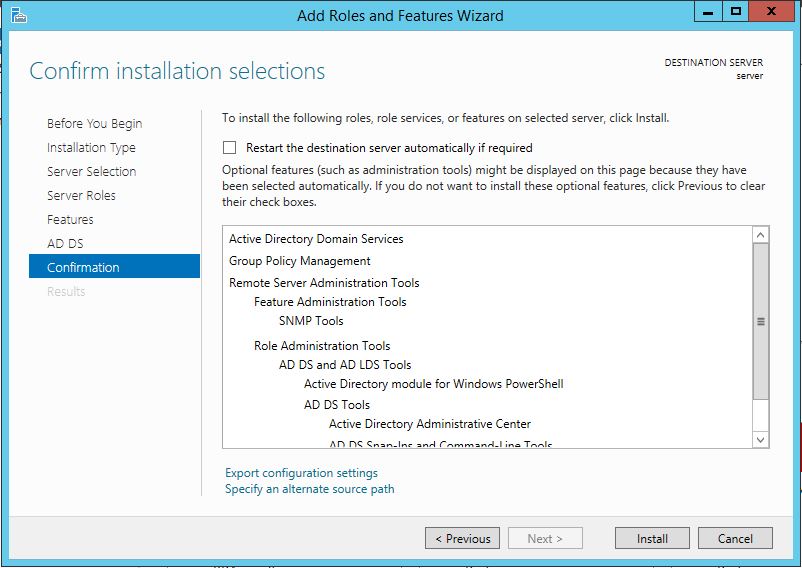 After we press Install, we then have to start the remote registry service. Click on the Start, navigate to the Control Panel, then Administrative Tools, Services, then right-click on Remote Registry, click on Properties, and select Automatic on the Startup. After, select Start on the Service Status. 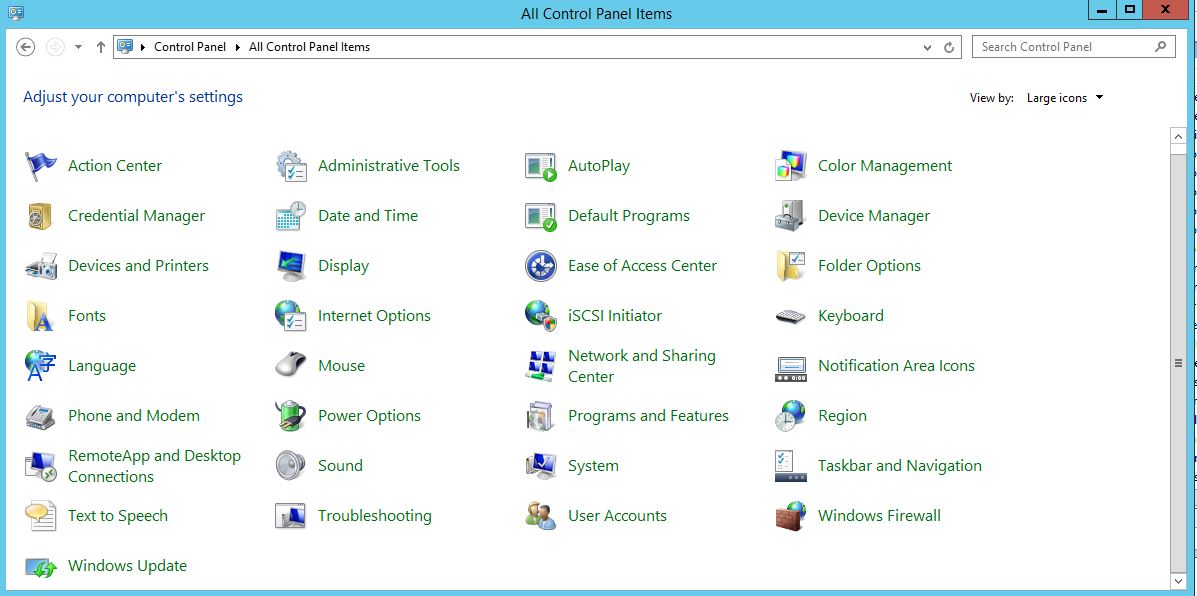 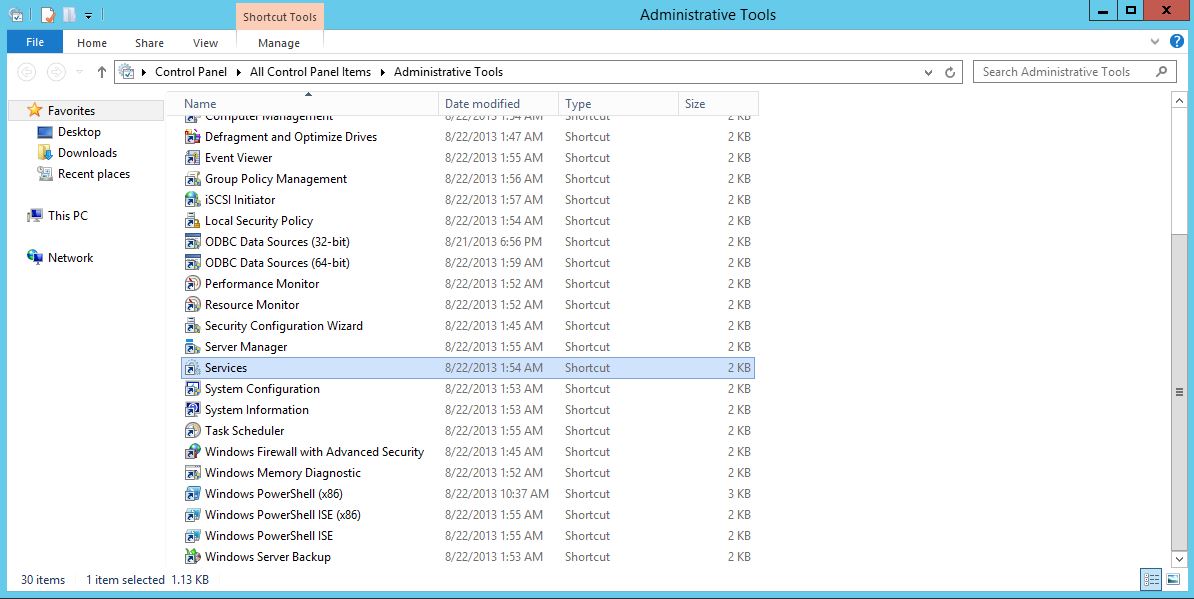 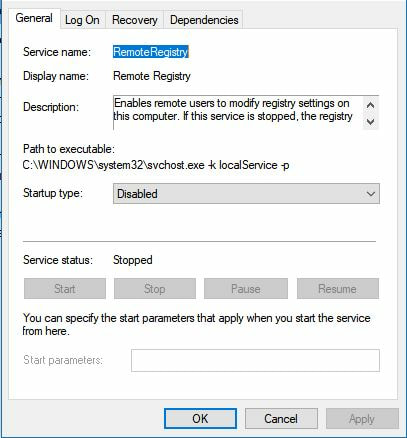 After that, we can navigate back to the Server Manager tab, click on the flag with the yellow caution sign and click on "Promote this server to a domain controller." 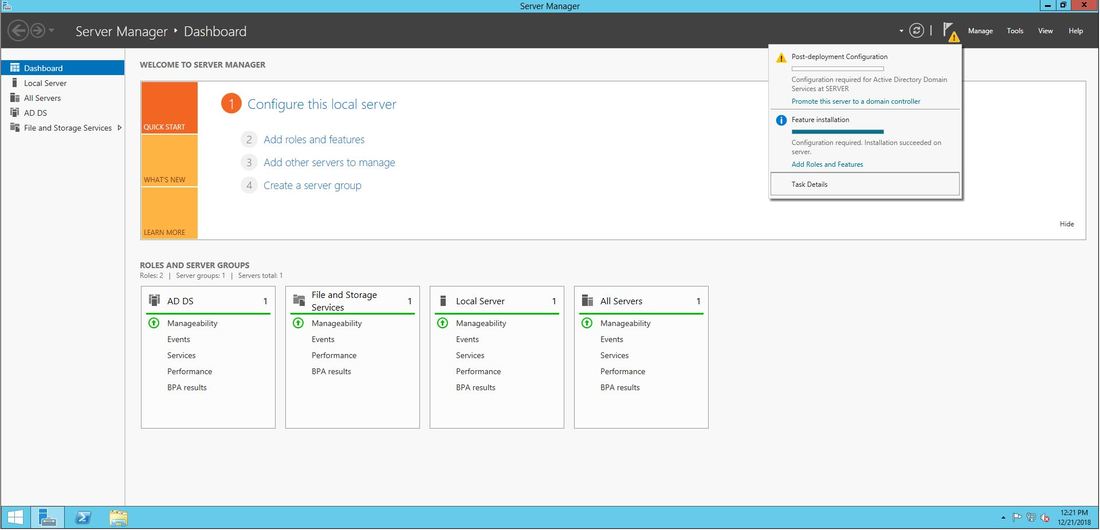 Next, a Deployment Configuration Wizard will appear and you can select the deployment operation "Add a new forest" and specify the Root domain name. After please press next. 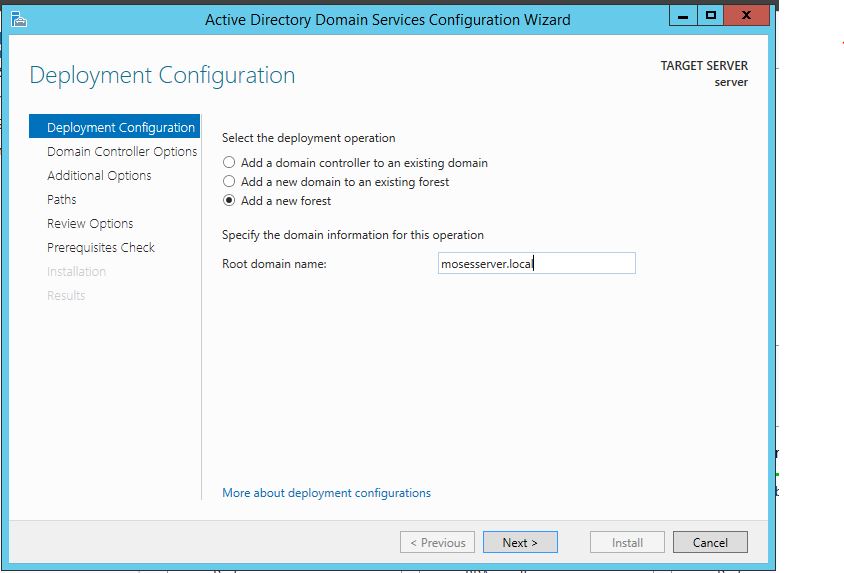 Next we can specify the NetBIOS domain name. 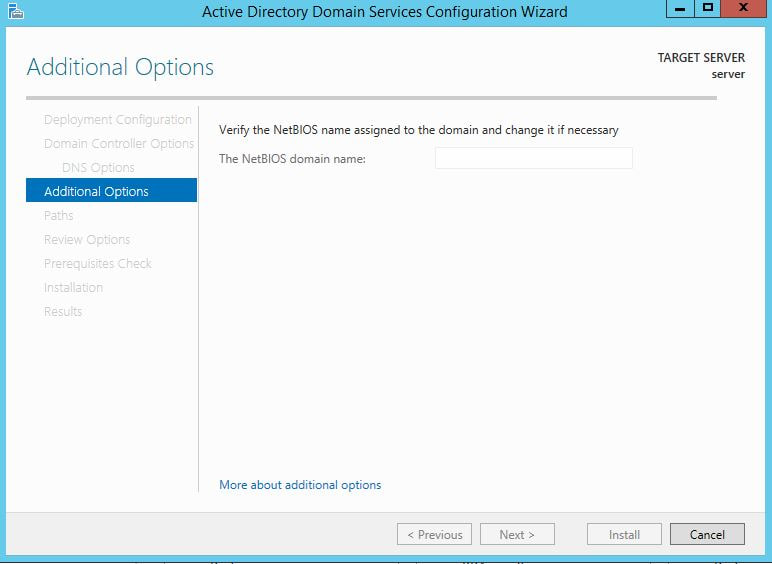 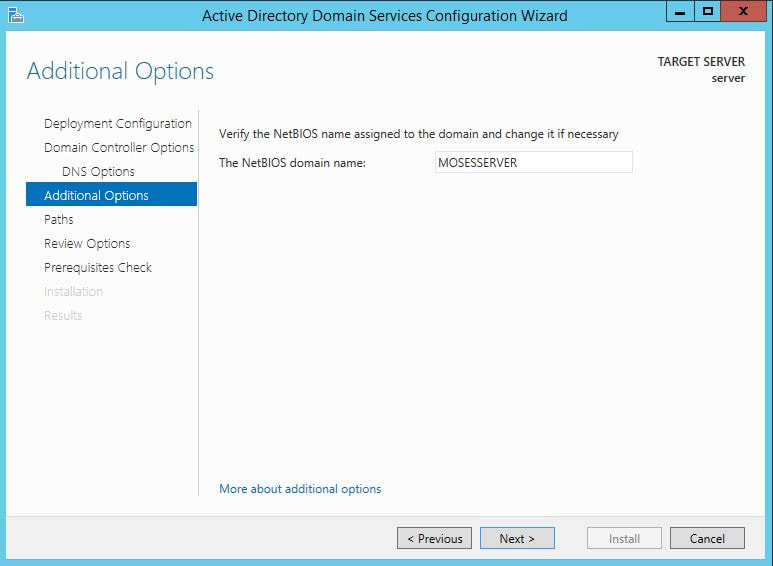 Next we can change the default location of the Database, Log files, and SYSVOL folders if needed. 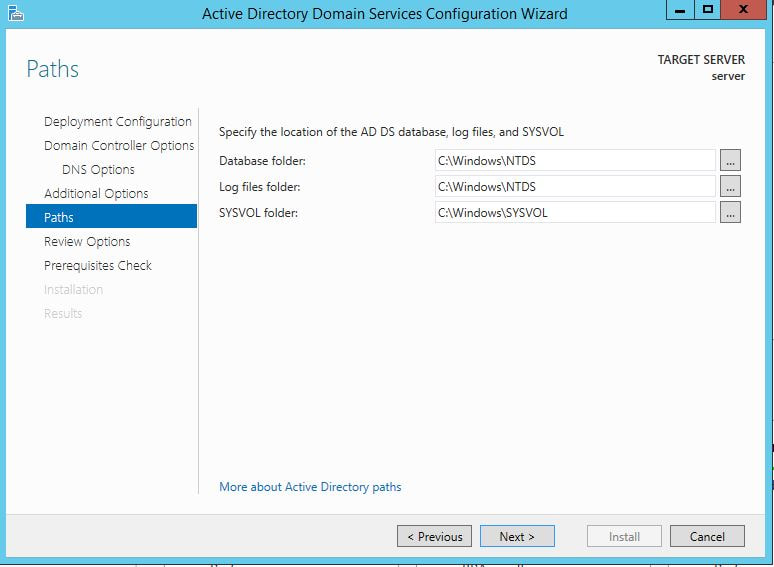 Finally review all of the prerequisites checks and verify that all are functioning properly. 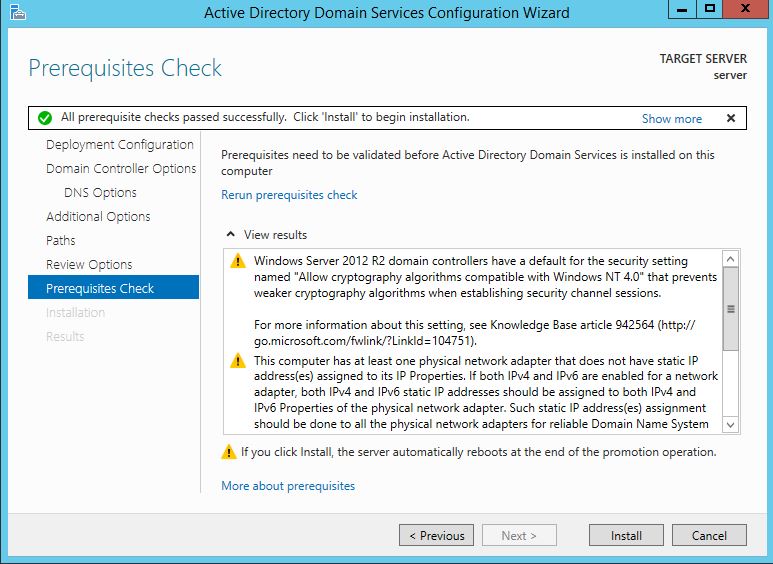 Please keep in mind that a DNS service must be present on the network, if it isn't than the server will need to establish its own DNS server. After clicking install and no other errors are received, then you have successfully installed Active Directory on Windows Server!
|
Hope you have enjoyed your stay! Come back again!
This site is under constant (slow) construction. Thank you for your patience.
Created by Moses J. Arocha ©
This site is under constant (slow) construction. Thank you for your patience.
Created by Moses J. Arocha ©